Full Text Searchable PDF User Manual
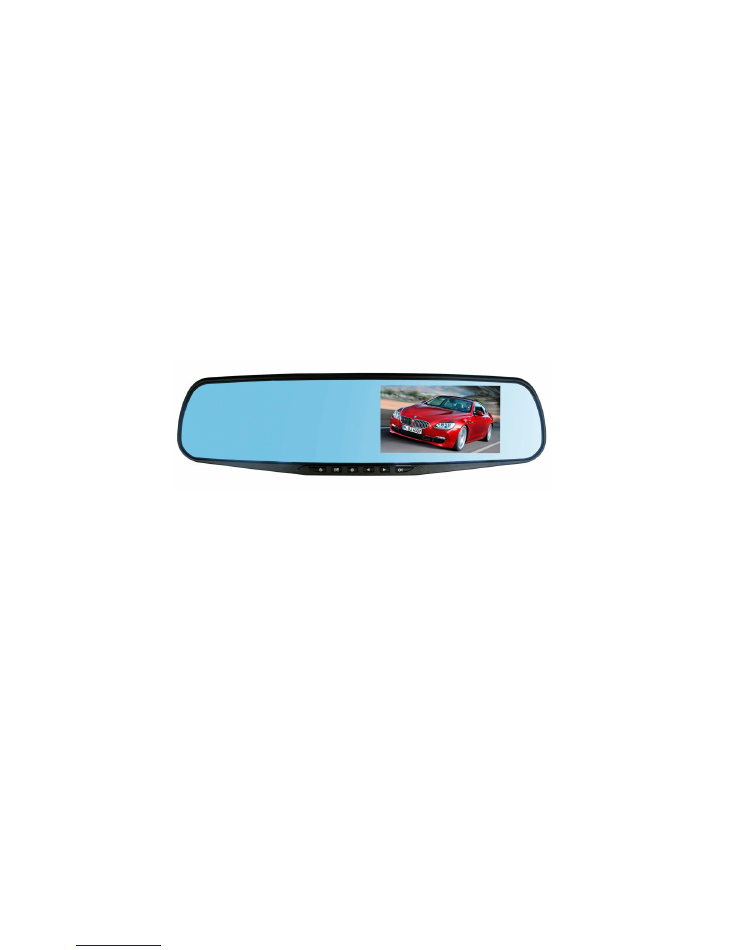
Car Mirror Camera
User Manual
Model Number: RM-LC2010
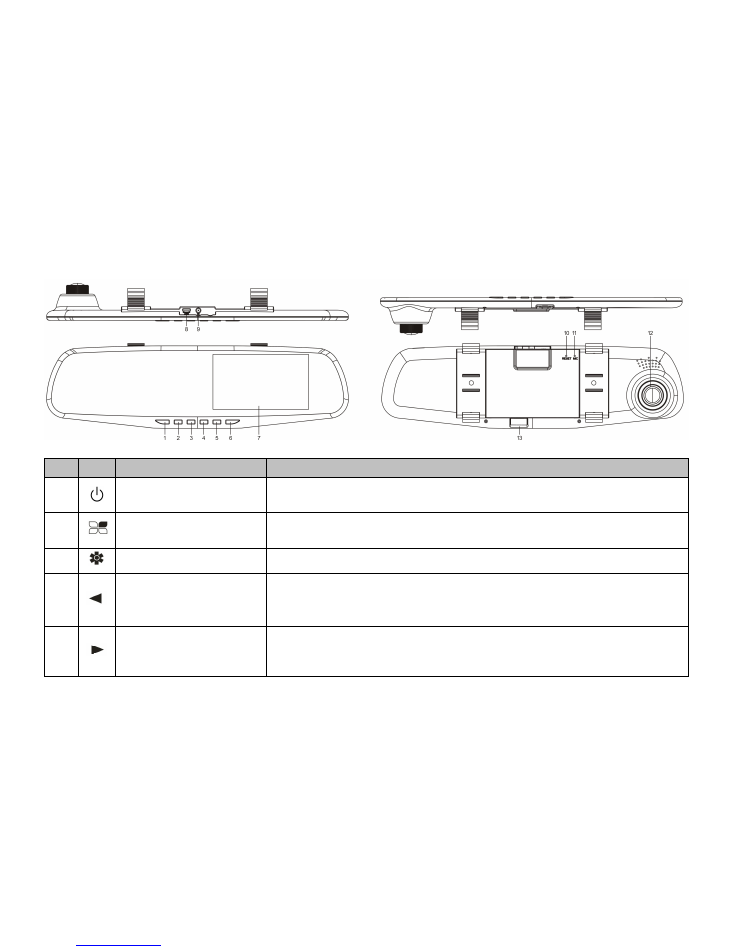
Product Panel description
No. Icon
Name
Operation instructions
1
Power button
In any mode, Long press to power on / off the unit; short press to on / off the
screen backlight;
2
The menu button
In recording standby / photo mode: press this button to go to setup menu;
In video replaying mode: press this button to go to the delete choice of the file.
3
Mode button
Press this button to switch from video record / photo / video replay mode .
4
Page up / Camera view
switch
Video recording/standby/picture mode: press this key to switch the front/rear
camera view.
Menu mode: press this key to select the up one
5
Turn
down
/
audio
recording control button
Video recording mode: press this button to open/close the audio recording
feature.
Menu mode: press this key to select the down one;
6
OK
Confirm button
Video mode: press this button to start/stop the recording Camera
Photo mode: press this to take a photo
Menu mode: confirm
7
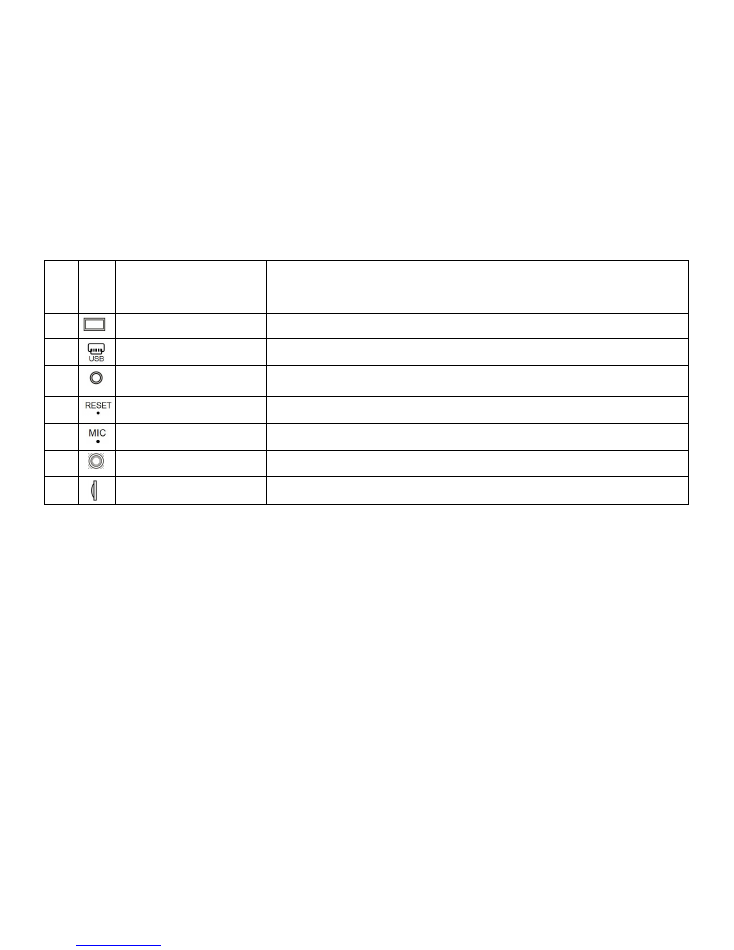
Display
4.3 inch 16:9TFT, high-definition display screen
8
The USB socket
Connect to the cigarette USB cord to supply the unit power
9
Camera video input
Provide rear camera video
10
Reset button
System reset button
11
Microphone
Microphone for audio recording
12
Front camera
Front camera to record the front view
13
TF card slot
TF memory card slot, insert the TF card to save video files, up to 32GB

Installation Instructions
1. insert a memory card: please note the recorder video must use high speed card (above CLASS10).
2、
Hook the device to the original rear view mirror on the car
3
、
Connect the power supply
Please use the usb cigarette charge in our package for proper voltage and current. The improper charger may result
unknown problems to this device.
4、Power o
n / off the device
Automatic on / off: if the power cable is well plugged in, when the car is started, the unit will power on automatically; when
the car is engine off, the unit will power off in 15 seconds.
Manual on / off: Press and hold the power button to manually power on /off the unit.
Note: Please format the card before you use it for recording the video.
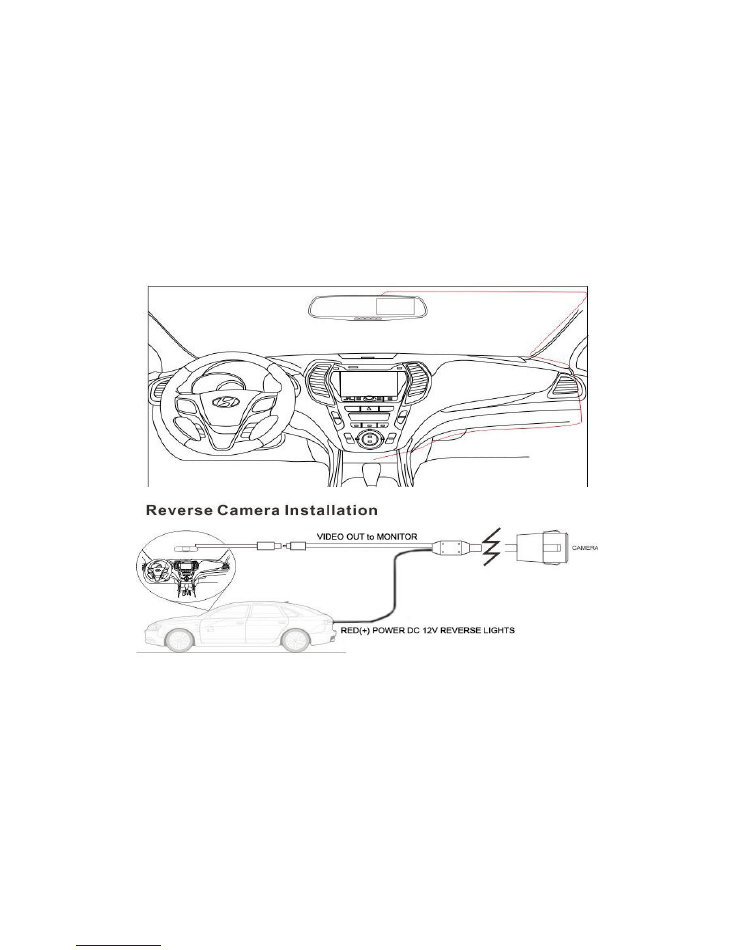
Installation Diagram
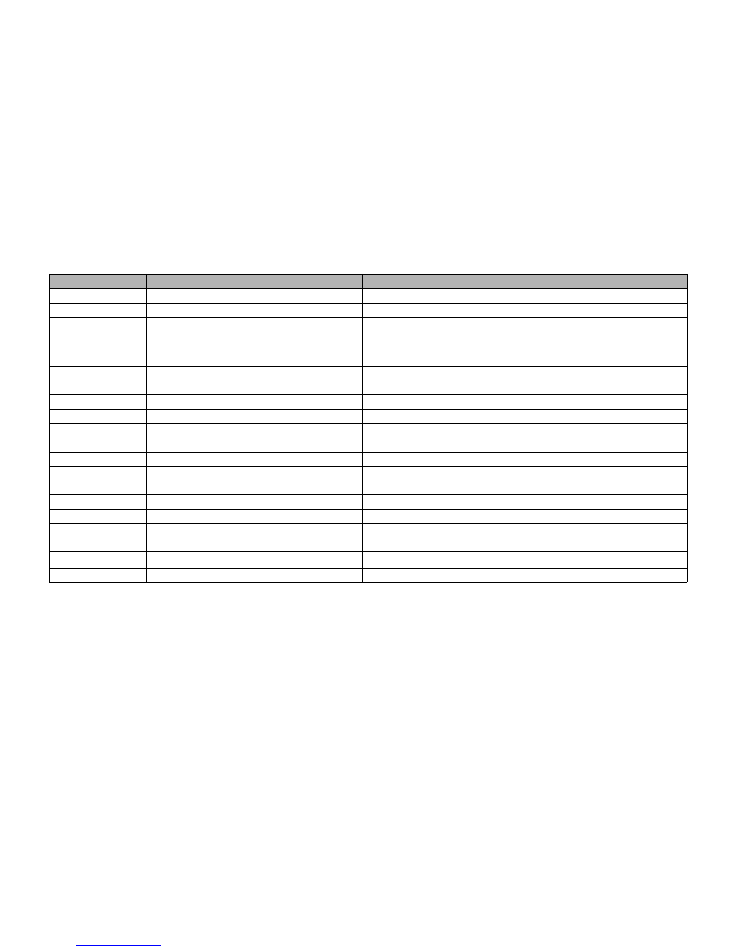
Setup menu
Menu options
Explain
The available options
Resolution
Set the video resolution
1080FHD
、
720P
Photo quality
Set the Photo Size and quality
12M / 10M / 8M / 5M / 3M / 2M / 1.3M / 1M
Loop video
Set each video file recording time
Off, 1 min, 2 min, 3 min, 5 min
If you choose off , all files will not be covered unless by
manual operation
White Balance
Video White Balance Level
Automatic / sunlight / overcast / tungsten lamp / fluorescent
lamp
Contrast
Contrast Level
0 / 1 / 2 / 3 / 4 / 5
Exposure
Exposure level
+1.0 , +2/3 , +1/3 , +0.0 , -1/3 , -2/3 , -1.0
Screen
Protection
Auto power off the screen
Off / 3 min / 5 min / 10 min
Video Sound
Audio on/off when recording the video
On / off
Auto Poweroff
Power off the unit 15 seconds after no
power supply
Off / On
Date
Revise the date to the correct one
Language
Multi - language
Time watermark
The time watermark will display on the
video
OFF/ON
Format
Format the TF card in the unit
Reset
Reset to factory default setting

Q&A:
How to set the date and time?
1. Stop the recording during the video mode.
2. Press menu button
3. Use Down button to find the option of Date
4. Press up/down button to select the right figure. Press the menu button to select the next block. Press OK to save and quit.
Why the unit power on / off automatically?
Charge the battery, if the battery is not enough voltage, the unit is not be powered on .
Why the unit can not record any more?
Make sure the TF card is in good condition.
Make sure the TF card is Class 10 at least.
Why the unit can not read my TF card?
The maximum capacity of the unit is 32GB.
How to use the reverse camera feature?
Make sure the red wire on the extension cable is connected to the reverse bulb wire.

www.ezonetronics.com
Ezonetronics Inc
Support@ezonetronics.com
Ezonetroics@facebook.com